The Double Reed
|
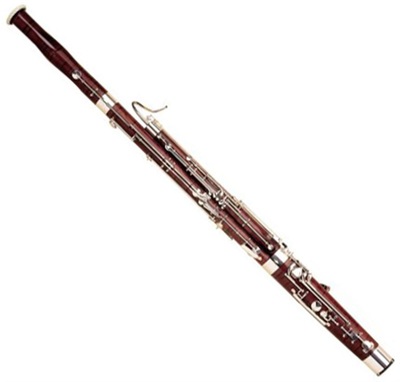
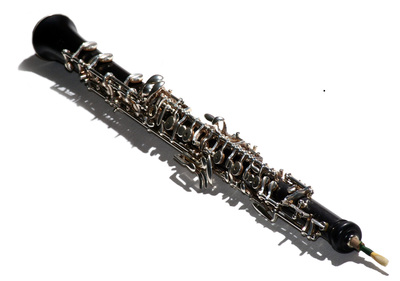
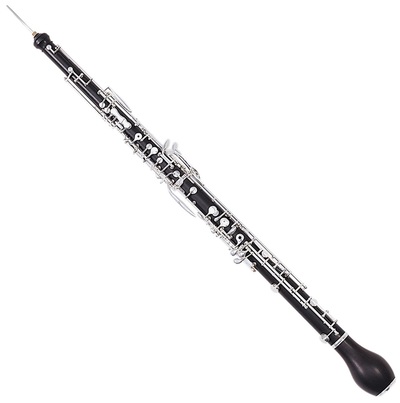
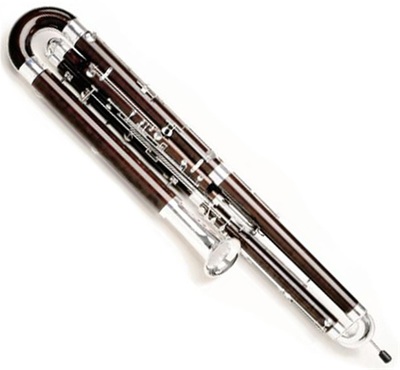
The bassoon reed is made of two pieces of cane that are wired against each other and made to vibrate, hence the name double reed. The double reed family has many members but there are two very common and two lesser common types you will encounter.
Those are:
|
The Double Reed Family - Click to hear about them.
*The videos are made by the Philharmonia Orchestra in London, UK. They use other terms that mean the same as ones for Americans. i.e. The "crook" is known as a "bocal" to most in the US. The bocal is used by three of these instruments. Do you know which one does not use it?
Where To Find Bassoon Reeds
|
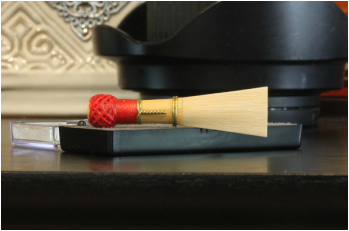
Parts of the Reed
|
Commerical Reed Suggestions
- The reed should have a "smile" shape to both of the blades at the tip end of the reeds. Try this: With your fingers, gently close the tip from the middle of each blade. The last part to come together should be the very center.
- The rails should be seated against each other without gaps.
- There should be two wires visible. The first wire, closest to the tip, should be oval in shape while the second wire should be round.
- The wires should not be so loose that you can move them back and forth with your fingers.
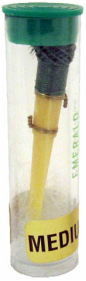
- For beginners a plastic reed is ok for the first 3 to 6 months.
- The hardness should be medium. If you have a knife to adjust the blades, it is better to start with a medium hard otherwise there is not much cane to take away.
- Emerald and Lesher are quality commercial brands to look for.
REED CARE
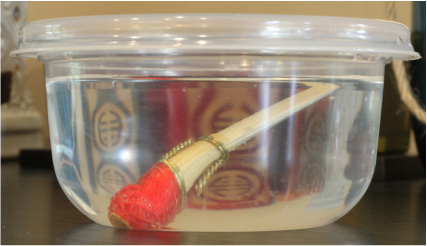
Soaking the Reed
One of the things needed to be done each time you play is to soak the reed. Unlike the saxophone or clarinet reeds, trying to moisten the reed in their mouth will not work. This can cause the reed to open too widely at the tip and vibrate inconsistently. Soaking in water helps cleanse the reed and remove any particles that may be in it. Follow this procedure to prepare your reeds:
- With a new reed take a pliers and slightly flatten the reed at first wire to make the reed more playable for beginners.
- Take a small container and fill with fresh water. There needs to be enough water to completely immerse the entire reed.
- Look for containers that are water tight. Cheap or free options to try are a prescription pill container, a small Tupperware container or a waterproof match vial. Remember to thoroughly clean these before using.
- Place the reed in the water while you assemble your bassoon (about 3 minutes). When you are done assembling the bassoon the reed should be ready. Keep the water container nearby your seat for any extended periods between playing in class or lessons. Put the reed in your mouth when it has soaked enough up until you are ready to play.
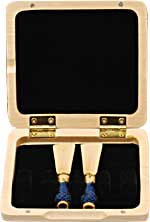
Caring for the Reed
|
Reeds are expensive! Follow these precautions to keep them going longer.
|
Qualities of a Good Reed
Here is a list of qualities a good reed will have when playing
- The reed should be free blowing and not cause you to work too hard.
- You should be able to articulate in all styles well.
- You should be able to play in the full dynamic range of the instrument.
- The reed needs to be soft enough to be free blowing but hard enough to produce a rich tone quality.
- A reed that is too soft will usually play flat and the E in the staff will tend to fall to an Eb.
- Aim for a sound that is in tune and has a good characteristic bassoon tone throughout the range of the instrument.
Adjusting the Reed - For the advancing bassoonist.
These are some basic tools you should have in your bassoon case to help adjust reeds. With the help of a bassoon instructor you can learn how each of these can be put to good use. In case you don't have a bassoon instructor available check out this guide: "Bassoon Reed Making" by Mark Popkin and Loren Glickman. Published by The Instrumentalist Company in 1987.
Did you know that most good bassoonists make their own reeds?
Did you know that most good bassoonists make their own reeds?
|
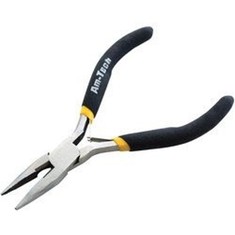
Pliers will help you adjust the tip of the reed with the wires to allow for ideal vibration.
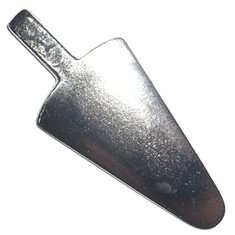
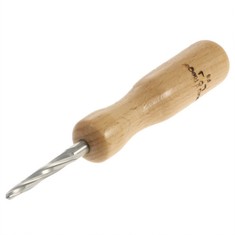
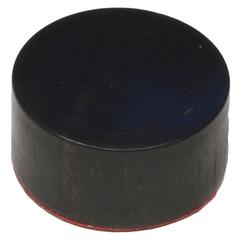
Plaques are used to support the reed from the inside when scraping, filing or sanding the outside of the blade. Reamers are used to round out a poorly formed reed to seal around the bocal and to allow the reed to fit on the bocal further. They are basically a drill that have the same taper as the bocal. Cutting Block is used to trim and cut the tips on reeds. |
|
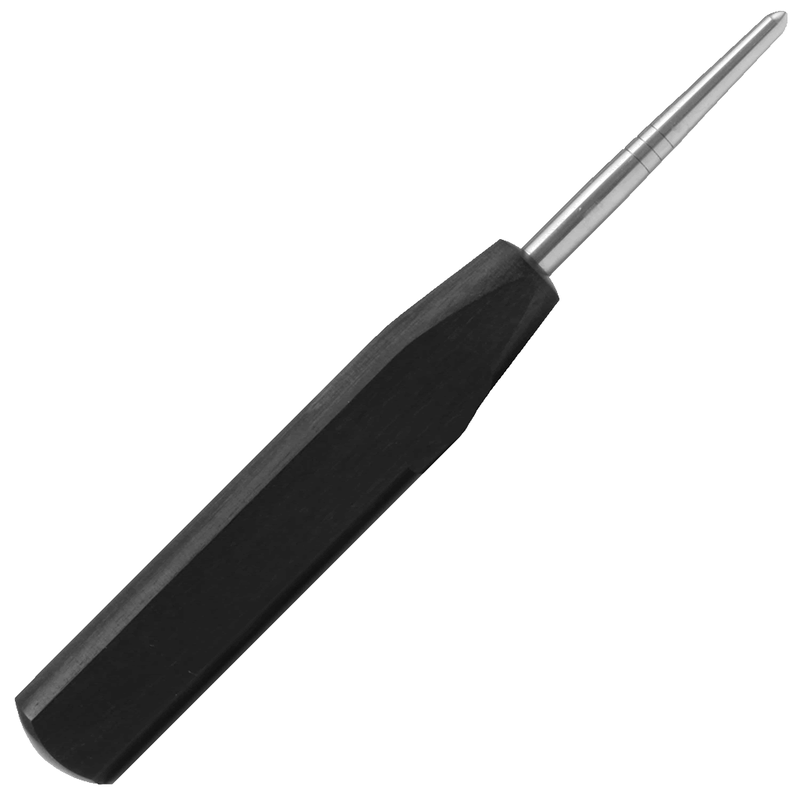
Mandrels are a tool that is used to hold and support the reed when working on or adjusting the reed. They are also shorter than a fixed mandrel so that the plaque can fit in the reed.
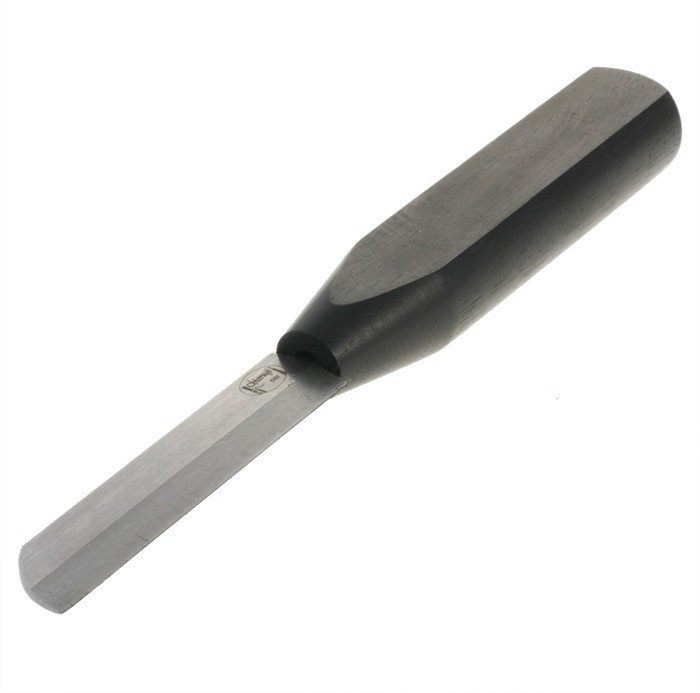
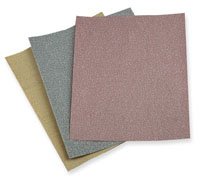
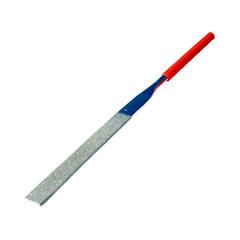
Reed Knives are the most important tool in your tool box. Knives come in many different styles; beveled, hollow ground, folding, straight, etc., and you can cost from $20.00 to $100.00. Fine Grit Sandpaper is used to put a smooth finish on the reed and to free up a nearly finished reed when you are afraid to scrape or file it. Small flat file from hardware store or a Revlon nail file from the drug store will work as well. |
Common adjustments that require the above tools.
*Be sure to wet the reed prior to adjusting.
- Checking the bocal fit - The back of the reed may need to be reamed out using the reamer because the size of the bocal is larger than the reed opening or there are leaks when the reed is placed on the bocal.
- Basic balance of the blade - If the reed doesn't close evenly when squeezed gently at the tip, the side from the center that resists most is where the cane is too thick or heavy. Wet the file and remove some cane, checking frequently for change.
- Checking the stability of the C#s - If the C# in and above the staff are flat or unstable and it is balanced, the reed needs to have its volume decreased inside. Squeeze the first wire with the pliers from top to bottom then squeeze the second wire from the sides. Use the cutting block and the reed knife to trim the reed. Lean your body weight into the trim and take less than a 32nd of an inch off.
- Check quick staccato notes above the staff - If these notes crack or play in the lower octave check that the center or "heart" of the reed is the thickest part of the tip. Use the plaque and file or sandpaper to correct the issue. If the problem persists, remove some cane near the first wire.
- Check low note response - Play the low C, D, E and F. If the notes are unresponsive, or if the D is more "stuffy" than the pitches around it, flatten the second wire top to bottom and remove cane from the back third of the blades using a plaque and wet file.